
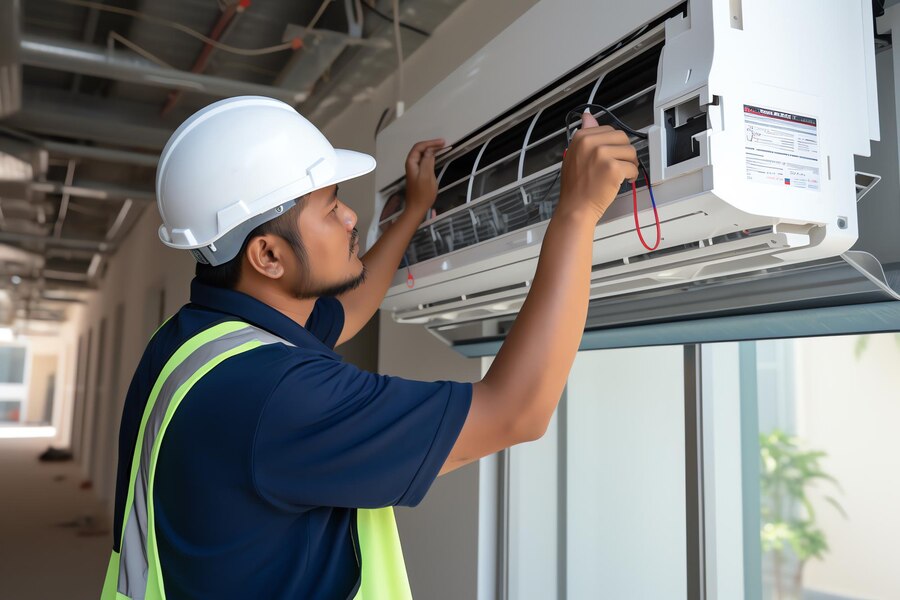
Welcome to Tradewind Heating and Air’s comprehensive guide on how to clean your furnace ducts in Garden Grove, California. Regular cleaning of your furnace ducts is essential for maintaining good indoor air quality and maximizing the efficiency of your HVAC system. In this step-by-step guide, we will walk you through the process of cleaning your furnace ducts to ensure that your home remains comfortable and healthy.
Heating and Air Conditioning Services
Step-by-Step Instructions for Furnace Duct Cleaning
The importance of cleaning your furnace ducts cannot be overstated. Over time, these ducts accumulate dust, dirt, pet dander, and other contaminants, which can impede airflow and force your HVAC system to work harder. This not only results in increased energy consumption and higher utility bills but also compromises indoor air quality.
Furnace duct cleaning involves the systematic removal of dust, debris, and other pollutants from the ductwork connected to your furnace or HVAC system. This Maintenance procedure requires accessing the ducts, employing vacuuming or brushing techniques to dislodge accumulated dirt, and ensuring unobstructed airflow passages.
By undertaking furnace duct cleaning, you not only enhance indoor air quality but also improve the overall efficiency of your heating system, thus mitigating the risk of respiratory issues stemming from airborne pollutants.
Step 1: Gather Your Supplies
- Dust mask
- Gloves
- Vacuum cleaner with hose attachment
- Soft-bristled brush
- Screwdriver
- Duct tape
Step 2: Turn Off Your HVAC System
Step 3: Remove Vent Covers
Step 4: Inspect Your Ductwork
Carefully examine the interior of your ductwork to evaluate the extent of buildup and identify any potential areas requiring repair. Look for indications of mold, mildew, or pest infestations that may have developed within the ducts. This thorough inspection ensures that any issues are promptly addressed before proceeding with the cleaning process.
Step 5: Clean the Ducts
- Use a vacuum cleaner with a hose attachment to suction away loose debris from your ductwork, starting from one end and working your way through systematically.
- Employ a soft-bristled brush to gently scrub the interior walls of your ducts, loosening any stubborn dirt or dust accumulations. Ensure thorough coverage by moving the brush back and forth along the surfaces.
- For reaching inaccessible areas, affix the brush to the end of the vacuum cleaner hose, allowing for efficient cleaning of tight spaces and corners. Repeat this process as needed to ensure comprehensive cleaning of the ductwork.
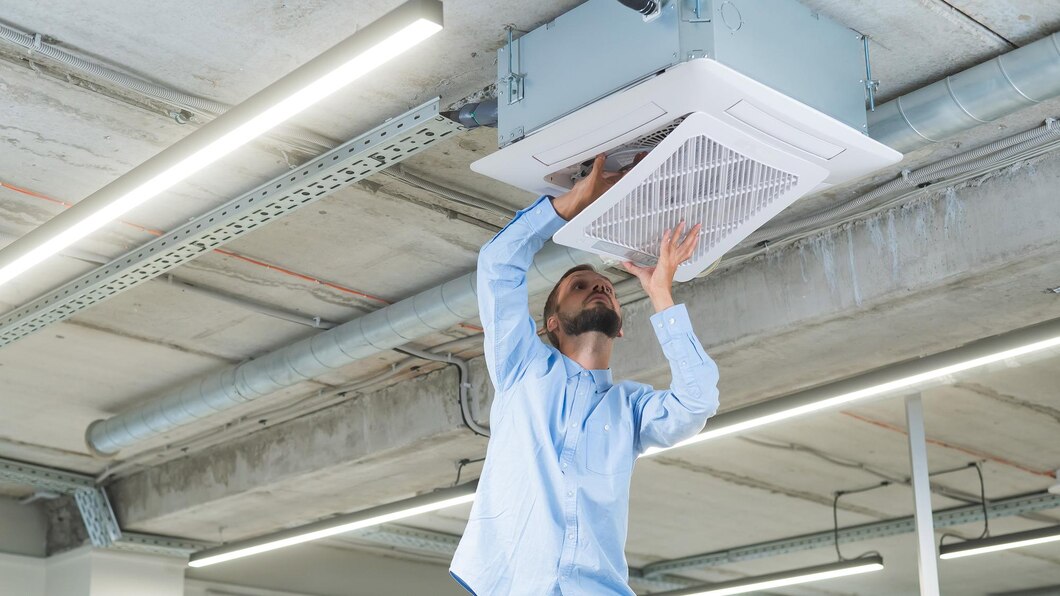
Step 6: Replace Vent Covers
Step 7: Turn On Your HVAC System
After completing the cleaning of your furnace ducts, it’s time to re-activate your HVAC system. Switch it on and allow it to run as usual. You can now enjoy improved airflow and enhanced indoor air quality throughout your home. This step ensures that your HVAC system functions optimally after the cleaning process and distributes clean air efficiently.
DIY Furnace Duct Cleaning: Step-by-Step Process
Step-by-Step Furnace Ducts Cleaning at Tradewind HVAC
Cleaning your furnace ducts is an essential part of maintaining a healthy and efficient HVAC system. By following our step-by-step guide, you can ensure that your home remains comfortable and free of allergens. If you have any questions or need assistance with cleaning your furnace ducts, don’t hesitate to contact Tradewind Heating and Air in Garden Grove, CA.

FAQS
- Why is it important to clean furnace ducts regularly?
- Regular cleaning of furnace ducts is essential for maintaining good indoor air quality and maximizing the efficiency of HVAC systems. Accumulated dust, dirt, and contaminants can impede airflow and compromise indoor air quality, leading to increased energy consumption and respiratory issues.
- What supplies do I need to clean furnace ducts?
- You will need a dust mask, gloves, a vacuum cleaner with a hose attachment, a soft-bristled brush, a screwdriver, and duct tape.
- Why should I turn off my HVAC system before cleaning the furnace ducts?
- Turning off the HVAC system prevents any stirred-up dust or debris from circulating throughout the home during the cleaning process, maintaining a clean and safe environment.
- How do I remove vent covers for cleaning?
- You can use a screwdriver to gently remove the vent covers from the duct openings, being careful to avoid damaging them or the surrounding areas.
- What should I look for when inspecting my ductwork?
- During inspection, look for the extent of buildup, indications of mold, mildew, or pest infestations, and any potential areas requiring repair.
- How do I clean the ducts effectively?
- Use a vacuum cleaner with a hose attachment to suction away loose debris, then employ a soft-bristled brush to gently scrub the interior walls of the ducts. Repeat the process as needed for thorough cleaning.
- How do I replace vent covers after cleaning?
- Carefully reattach the vent covers to their respective duct openings, ensuring a secure fit and using duct tape to seal any gaps and prevent air leakage.
- When should I turn on my HVAC system after cleaning the furnace ducts?
- After completing the cleaning process, you can turn on your HVAC system to enjoy improved airflow and enhanced indoor air quality throughout your home.
- What precautions should I take during DIY furnace duct cleaning?
- Exercise caution throughout the process, and if you encounter uncertainty or detect indications of mold or substantial debris accumulation, seek the expertise of a professional HVAC technician.
- How can Tradewind Heating and Air assist with furnace duct cleaning in Garden Grove, CA?
- Tradewind Heating and Air offers comprehensive assistance with furnace duct cleaning in Garden Grove, CA. Contact us for any questions or assistance with cleaning your furnace ducts.